Giving your cabinets a fresh coat of paint is one of the most cost-effective ways to give your kitchen a fresh new look. So how much does it cost to paint kitchen cabinets? Repainting your cabinets will be a much less expensive project than resurfacing or replacing them. In this article, we’ll discuss the cost of painting your cabinets as a DIY compared to hiring a professional as well as ways to save you money in both instances.
If you live in the Boise area and need a professional painter to paint your kitchen cabinets, we’ll give you a free quote! We serve the entire area including Meridian, Boise, Eagle, and Nampa!
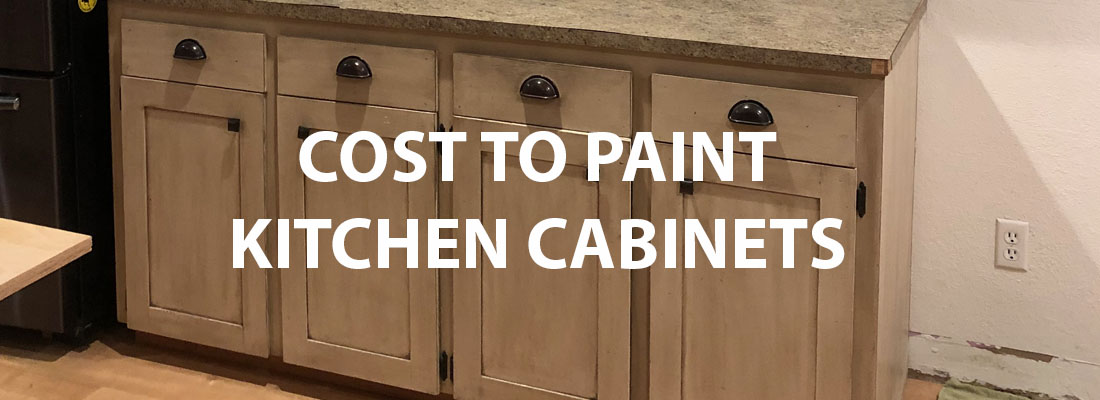
How Much Does it Cost to Paint Kitchen Cabinets?
The cost to repaint your kitchen cabinets may be less expensive than you think. On average, you can expect to pay somewhere between $400-$1300 depending on the quality of paint and the size and layout of your kitchen. This cost is mainly for labor but also includes the paint and other supplies. The national average is roughly $750 per kitchen. Because having your kitchen cabinets painted won’t break the bank, it remains one of the most popular kitchen renovations to up the value of your home.
What Goes Into Cabinet Painting
There’s a fair amount of prep work that goes into painting your kitchen cabinets if you are attempting to do it yourself. It will pay off in the long run if you take the time beforehand to gather all the necessary materials and give yourself plenty of time. Plan on several days to complete the project. Always wear the appropriate safety gear and remember to open your windows for proper ventilation.
Step 1. Determine the Cabinet’s Condition
Surfaces that are already painted can be painted again but only if the existing paint is in good condition. If not, the old paint will need to be removed. This may require stripping products and some extra sanding to remove the old paint completely.
While assessing the condition of your cabinets, you may decide that some doors need to be completely replaced rather than repainted. You’ll need different supplies and materials depending on what prep work your cabinets need.
Step 2. Remove Dust and Grease
Before applying any primer or paint, it’s important to make sure your cabinets have been thoroughly wiped down to remove all grease, dust, and dirt that has built up.
Step 3. Remove the Cabinet Doors
Your next step will be to remove the doors, drawers, and hardware. It’s a good idea to label each piece with painter’s tape to eliminate guesswork when it comes time to put everything back together. Place the hardware in plastic bags and label where they go as well.
Because there will be sanding taking place during the process, you’ll want to empty your cabinets at this time. This way you won’t have to wash every dish after your project is completed.
Step 4. Prep and Sand
Use drop cloths to cover your countertops, appliances, and any other areas you want to protect from dust and paint. Use painter’s tape to protect areas on the wall along the edge of your cabinets. Next, sand all cabinet surfaces with a medium-grit sanding block. A scuffed-up surface will help your primer and paint adhere much more effectively. Use a piece of folded sandpaper to get in the nooks and crannies and corners of your cabinets. Wipe down all cabinet surfaces thoroughly to ensure no fine dust particles remain.
Step 5. Prime
Primer isn’t always necessary. However, in this case, we feel priming is an important part of the process. Primer not only covers imperfections but also provides the best surface for paint to adhere to. Allow plenty of time for the primer to dry before moving on to painting.
Step 6. Paint
When applying paint to your kitchen cabinets, you can either use a roller or a brush. If you’re a little more advanced and have access to one, a paint sprayer is also an excellent option. Start by painting your cabinet frames, then the backs and fronts.
Step 7. Apply a Second Coat
After allowing several hours for your first coat to dry, we recommend applying a second coat. It will definitely take more time but is well worth it for the extra coverage and protection it provides.
Step 8. Reassemble Kitchen Cabinets
Once you’re certain your cabinet surfaces are completely cured, you can reassemble the doors to the frame as well as replacing your hardware.
Do I Need to Prime Before Painting?
How to Calculate the Cost of Painting Your Kitchen Cabinets?
We mentioned that several factors go into figuring out the cost of repainting the cabinets in your specific kitchen. Let’s discuss the most common factors in detail:
-
Paint Quality
While there are a variety of paints designed specifically for kitchen cabinets, any high-quality paint should work. You’ll want to be sure to go with acrylic paint and avoid vinyl. Because kitchen cabinets need to be frequently wiped down, they do best with acrylic latex-based paint because of its durability. The higher quality your paint, the more expensive your cost will be.
-
Painting Supplies Needed
Deciding which painting method you want to use will play into your overall cost of the project because it will determine what tools you need to purchase. Spraying is an efficient method that gets the job
done fast but may not be a tool you have on hand. Rollers and brushes are less expensive and are great for those hard to get into areas. Remember that whichever method you go with, you’ll need to purchase the primer, paint, drop-clothes, tape, paint pans, sandpaper, etc. These supplies add up to around $250-$550. When you hire a professional, they already have these materials.
-
Kitchen Size
Obviously, the fewer cabinets you have, the less expensive your job will be. So if you know you have a small kitchen, expect to pay less as opposed to a kitchen with larger square footage.
-
Cabinet Surface Area
If you have standard-size cabinets, a painting contractor may quote you a certain price per cabinet piece such as a drawer or door. However, they may charge you more if your cabinets have a larger surface area. It will commonly cost you more if your kitchen is difficult to maneuver in or has an excessive amount of corners.
-
Labor Cost
Labor costs will be a substantial amount of your cost. Depending on where you live, painting contractors may charge between $25-$50 per hour while others charge a base rate after calculating the total linear feet of your cabinets.
Cost to DIY and Cost to Hire a Professional
DIY painting projects usually seem doable and typically save you a substantial amount of money. But it’s important to keep in mind that painting experts know the ins and outs of their trade and have the skills to do the job right.
The bulk of your costs for a DIY project will come from purchasing paint and primer along with other painting supplies. A high-quality paint will run you about $55 per gallon. One gallon will generally cover 12 cabinet surfaces. To achieve the most professional look you can, you’ll want to purchase a quality primer as well. These two products combined will run you between $13 to $15 per cabinet surface.
We know from experience that many homeowners attempt to paint their kitchen cabinets themselves and regret the time and money they put into it. They aren’t satisfied with the finished product.
Repainting your cabinets is also a pretty big undertaking and will consume a few days of your time. Remember that time is money. Sometimes paying more to ensure you will love the end result while freeing up time for you to accomplish other things is simply the best way to go.
A team of professionals will mean your kitchen is disrupted for a shorter period of time, will help protect the rest of your kitchen, and they will know the best paint or stain for your specific cabinets.
Why You Should Get Your Kitchen Cabinets Repainted
We’ve already mentioned a few of the reasons why people might repaint their kitchen cabinets. However, below are the three main reasons:
- Cost-effective renovation method
- Adds value to your home
- Updates and refreshes your style
How to Save Money Painting Your Cabinets
If you feel that hiring a professional painter is the best way to go but are worried it will cost too much, we have some helpful tips to save you money:
- Watch for deals or discounts offered by your local painting companies.
- Remove your cabinet drawers, door, and hardware by yourself. This will save you money on labor costs and is very simple to do.
- Depending on the condition of your cabinets, you may be able to get away with using a paint that already has the primer included. This saves you from purchasing a separate paint and primer.
- You may be able to get a deal from your painting company if you have other rooms in your home that you’ve been wanting to get repainted at the same time.
Cost to Reface Your Cabinets
Refacing your cabinets is a great alternative when you want an entirely new look for your kitchen without completely replacing them. But it will certainly cost you more than simply repainting. Refacing cabinets is a common choice for homeowners with laminate or cheaper surfaces in poor condition so they can’t be repainted.
Conclusion on How Much Does it Cost to Paint Kitchen Cabinets
Repainting your kitchen cabinets by yourself will be less expensive than hiring a professional painting contractor. However, painting kitchen cabinets can be quite a tedious task that could leave your kitchen taken apart for days at a time. Hiring a skilled painting company will ensure your cabinets turn out with a smooth and quality finish. The team at Boise Home Painting gets the job done quickly and efficiently and can make your cabinets look new again. No matter where you live in the Treasure Valley, our experienced painters are happy to come out and give you a free quote. Your dream kitchen may be closer than you think.