Elastomeric paint is a popular choice for homeowners who want to protect their property from moisture, cracking, and other environmental damage. This type of paint is known for its elasticity and flexibility, which allows it to expand and contract with the building’s movement. While elastomeric paint has its benefits, there are also several disadvantages to consider. In this blog post, we will explore the drawbacks of using elastomeric paint and help you determine if it is the right choice for your home or project.
If you need help with a painting project in Boise, we can help! Our painters do work all over the treasure valley including Meridian, Nampa, and Eagle. Click the button below to get your free estimate!
Matte vs Satin and Gloss Finish
What is Elastomeric Paint?
Elastomeric paint is a type of coating that contains a high volume of elastomeric polymers. These polymers give the paint its unique ability to stretch and contract without cracking or peeling. When applied to a surface, elastomeric paint creates a thick, durable layer that can withstand extreme temperatures, moisture, and environmental stressors. The paint is typically made from a blend of acrylic resins, fillers, and pigments, and can come in a variety of colors and finishes. Because of its elasticity, elastomeric paint is commonly used on surfaces that are prone to movement, such as stucco, concrete, and masonry.
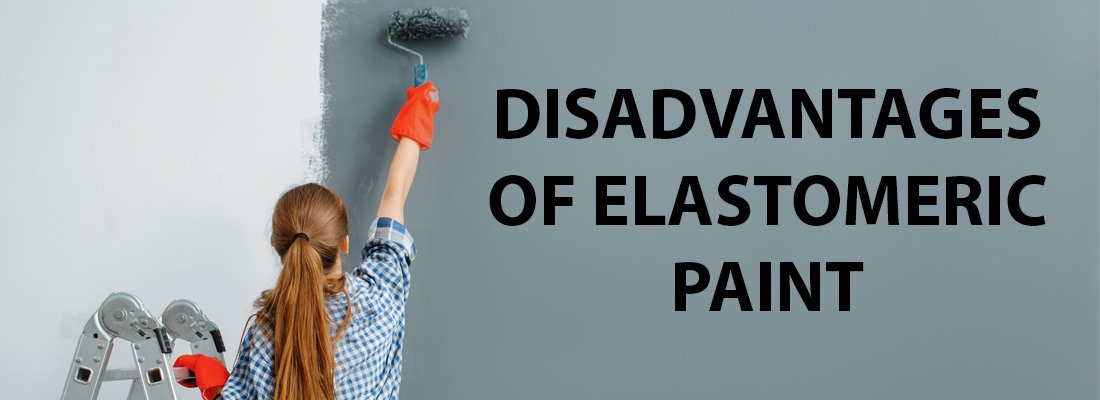
Disadvantages of Elastomeric Paint
Elastomeric paint is a popular choice for exterior surfaces. However, it also has some disadvantages that should be considered before use. One major disadvantage of elastomeric paint is its high cost compared to traditional paint. Additionally, it can be challenging to apply, requiring special equipment and expertise. Furthermore, the thickness of the paint can create a “plastic” look on the surface, which may not be desirable for some applications. Finally, it is not as breathable as traditional paint, which can cause moisture buildup and potentially lead to mold and mildew growth.
When to Use It
Elastomeric paint is primarily used for protecting and waterproofing exterior surfaces, particularly those that are prone to cracking. It’s a popular choice for painting stucco, concrete, and masonry walls, as well as roofs, decks, and other outdoor structures. Elastomeric paint is particularly useful in areas with extreme weather conditions, such as areas with high rainfall or frequent freeze-thaw cycles. It can also be used on interior surfaces in areas where moisture or humidity is a concern, such as bathrooms, basements, or laundry rooms. One of the main benefits of elastomeric paint is its ability to expand and contract with the surface it is applied.
Because it’s so flexible, elastomeric paint can help prevent cracking and peeling, which can be a common problem with traditional paints. Additionally, elastomeric paint is highly resistant to water, making it an effective way to waterproof surfaces and prevent moisture damage. Because it forms a thick, protective layer on the surface it’s applied to, it can help extend the life of the underlying material. This can be particularly beneficial for older buildings or structures that are exposed to harsh weather conditions. Elastomeric paint is also available in a variety of colors and finishes, making it a versatile choice for a range of aesthetic preferences. Finally, elastomeric paint is generally easy to apply and maintain, making it an attractive option for homeowners and contractors alike.
Is it Waterproof?
Yes, elastomeric paint is waterproof. In fact, one of the primary benefits of elastomeric paint is its ability to provide a barrier against moisture. This makes it particularly useful for exterior surfaces that are exposed to rain or high humidity, such as stucco walls or concrete foundations. Additionally, elastomeric paint can help prevent water damage and mold growth by sealing cracks and gaps in the surface. It’s important to note, however, that while elastomeric paint is highly water-resistant, it is not a substitute for proper building design and maintenance. Buildings should be constructed and maintained to prevent water intrusion, and elastomeric paint can be used as an additional layer of protection.
Elastomeric Paint for Stucco
Elastomeric paint is a popular choice for stucco surfaces due to its ability to flex and contract with the material. Stucco is a porous material that can absorb moisture, which can cause cracking, peeling, and other forms of damage over time.
When applied to stucco surfaces, elastomeric paint provides several benefits.
- Elastomeric paint helps protect stucco by creating a thick, waterproof layer that can prevent water penetration and resist damage from harsh weather conditions.
- It can help seal cracks and gaps in the stucco, preventing moisture from seeping in and causing further damage.
- Elastomeric paint can also improve the appearance of stucco, providing a smooth, uniform finish that can cover up imperfections and create a fresh, clean look.
- Additionally, elastomeric paint can help extend the life of stucco surfaces by protecting them from UV rays, extreme temperatures, and other environmental stressors.
Proper preparation is essential when applying elastomeric paint to stucco surfaces. The surface must be thoroughly cleaned and dried before applying the paint, and any loose or flaking stucco should be repaired or removed. Some experts also recommend applying a primer before applying elastomeric paint to stucco surfaces to ensure proper adhesion and reduce the risk of cracking or peeling over time. With proper application and maintenance, elastomeric paint can be a highly effective way to protect and enhance the appearance of stucco surfaces.
Elastomeric Paint for Concrete
Elastomeric paint is commonly used on concrete surfaces, such as driveways, sidewalks, and walls, due to its ability to expand and contract with the material. Concrete is a porous material that can be prone to cracking and moisture damage, particularly in areas with extreme weather conditions. Elastomeric paint provides a waterproof barrier that can help protect concrete from water intrusion, which can lead to damage, staining, and mold growth over time.
One of the key benefits of elastomeric paint on concrete is its ability to cover up imperfections and provide a uniform finish. Elastomeric paint is available in a range of colors and finishes, allowing for customization and enhancing the appearance of the surface. Additionally, elastomeric paint is highly resistant to UV rays and other environmental stressors, which can help extend the life of the concrete surface.
It is important to note that while elastomeric paint can provide a protective layer for concrete surfaces, it’s not a substitute for proper maintenance and care. Concrete surfaces should be regularly cleaned and sealed to prevent damage and maintain their appearance.
Elastomeric Paint Conclusion
While elastomeric paint offers many benefits for certain surfaces, such as stucco and concrete, it does have a few disadvantages. It can be more expensive than traditional paint, and its thickness can make it challenging to apply. Additionally, while elastomeric paint is highly durable, it may not be suitable for all surfaces or environments.
Consulting with a professional painting company, such as Boise Home Painting, can help you determine whether elastomeric paint is the best option for your specific needs. They can provide expert advice on surface preparation, application techniques, and maintenance to ensure a long-lasting and beautiful finish for your home or business.